You are in front of the mirror with a pair of scissors or clippers in hand. Days of research about self-haircut finally came to an end, and you finally dared to do it. The problem? You don't know what hairstyle to do. Here are easy DIY haircuts for men and women that you can try.
For Men
Fade cut
A cut that is simple, easy to maintain, and never out of style, a fade cut is a perfect choice. It was popular before, and it is still a looked-for cut among men. You even can add or not a styling product at the end since it is already a polished look.

1. Wet your hair using a spray bottle. Straighten your hair by combing it down.
2. Attach the #2 guide comb (1/4 inch) with your clipper. Then, using an upward rocking motion, start at the ears and work your way to the back of the head. When cutting, pull the skin taut to obtain a tighter taper around the ears.
3. Put on the #4 guide comb (1/2 inch) once you've finished with the sides and back of the head. As you glide the clipper across the top of the head, use a front-to-back, rocking motion.
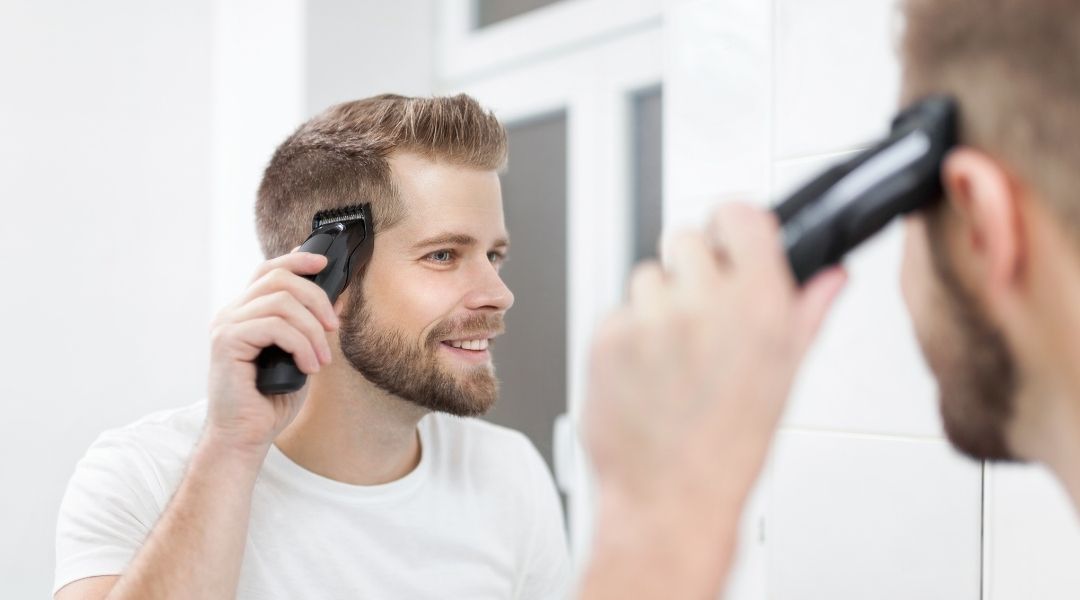
4. With the Fade haircut, it's all about the details. Use a rocking motion or an inverted clipper technique (an upside-down trimmer) to achieve the perfect fade.
5. Cut in the opposite direction of the hair growth for the cowlick.
Faux Hawk
Also called the Peaked Cut, this hairstyle is ideal for people seeking fashionable and young look cut with an attitude. You have to use a hair styling product to make the hair on top of the headstand; thus, the name peaked cut.

1. Using a clipper, choose attachment guard #2 (1/4") or #3 (3/8"). As you proceed around the head, begin in front of the ear, merging the back of the neck and beneath the rim of the head. Bend the ears down and out of the way as you work over them to make it easier to trim the hair.
2. Cut the hair near the nape of the neck again. Cut up to the rim of the head, but leave the Faux Hawk section on top of the head alone.
3. Cut the left and right sides of the top of the head to the appropriate length, leaving the mid-section extended.
4. Using an upward rocking motion, blend the rim of the head into the top of the head.
5. Using your clipper and attachment guards #2 (1/4") or #3 (3/8"), trim the hair in the center of the top of the head. After that, pull the hair back and away from the face.
6. Make the hair on top of the head stand up into a peak with your favorite hair styling product.
Close-cut
The easiest and cleanest cut among all, close-cut is very easy to do on your own. There are no special preparations to do and no complicated steps to follow. You just need your clippers, a 3-way mirror, a cape, and a neck-duster brush.

1. Have the taper lever of the clipper at its closest point. Using an upward rocking motion, cut the sides and rear of the head, moving the clipper head as you change sides. Use a mirror as a reference and use precise, fluid strokes.
2. Now concentrate on the top of the head, using clean, straight strokes from front to back with the clipper. If required, repeat the process with the clipper.
3. Finally, shave the head completely using your shaver. Check for any missing spots with a mirror.
4. To maintain this style, repeat the method every few days.
Tousled cut
If your lifestyle is busy, and you do not have enough time to visit the barber regularly, then the tousled cut is for you. It is a known choice among young adults or those who prefer their hair longer. It doesn't need too much maintenance.

1. Wet your hair using a spray bottle or a hair mist. Straighten your hair by combing it down.
2. Select a #10 (1-1 1/4") or #12 (1-1 1/2") attachment guard for your clipper. This will leave the hair long.
3. Begin cutting in front of the ear, working your way around the head, merging the back of the neck to beneath the rim of the head up to the edge of the head as you go.
4. Cut the hair on the top of the head to the appropriate length using the clipper-over-finger technique. The bangs should be cut last.
5. To blend under the rim and the rim of the head, use a clipper with an attachment guard.
6. Touch up around the ears and neckline with an inverted clipper technique (an upside-down trimmer). Note: Because this is a longer haircut, the hair on the sides should brush up against the tops of the ears. The bangs are lengthy and brushed to the side of the face.
*Cont. Part II*


