For women
Simple trim
If this is your first try cutting your hair, this simple haircut is perfect for you. You can control how much to chop. This cut is also good if you are simply trying to get rid of split ends. The simple trim goes with any hair type and is very easy.

1. Brush your hair gathering it into a ponytail at the top of your head. You want it to be close to your forehead.
2. Calculate how far your initial layer should fall.
3. Simply cut straight through below your fingers after marking the desired length with your fingers.
4. To avoid choppiness or an unprofessional-cut look, cut higher over your original cut.
Pixie
If you dare, you can do a pixie cut. A warning, though, since it is a very short hairstyle, there is not much room for a correction once the error is committed. This cut is an option for those who already have short hair. However, if you feel confident in your hair cutting ability, give it a try.

1. Section the upper part of your hair, choosing which portion to retain long. Put this section into a ponytail. Let only be the bottom part of your hair visible. Clip the rest up.
2. To cut to the appropriate length and allow more room for error, use a No. 5 trimmer. (If you have long locks, it is better to cut them first using scissors and use a trimmer afterward.)
3. Continue to the next layer. It should be a fraction of a second shorter than the first.
4. With scissors, layer the last portion of hair on your crown. Start by pulling the sectioned hair in front of your face and cutting downward.
5. To balance out and smooth the edges, use a finer trimmer.
6. Use hair styling products to set your hairstyle in place.
Layers
Another easy-to-do haircut is adding layers to your hair. You like to have a new hairstyle, but you don't want to lose your length. Layering your hair will give the illusion that it is long. It makes the hair lighter and creates volume, too.

1. Gather the top 2/3 of your hair into a bun. Part the remaining hair at the bottom into two.
2. Bring your hair to the front and divide it into two halves on each side to cut off the necessary quantity from the bottom third. (A total of 4 sections at the bottom).
3. To help blend the layers, cut straight across and then point-cut. Snip the remaining 3 sections using the first one as your guide.
4. Bring down the remaining hair. Make a central section. Bring a one-centimeter section of hair from right to left. Then tie your hair to the right side.
5. Create a 2 cm segment on the left side of the part, starting from that portion.
6. This portion should be pulled straight up. Using your fingers to hold the hair, cut straight across and then point-cut.
7. Half of this hair should be moved to the right side as a guide.
8. Repeat the process with the remaining hair.
9. After that, make a central portion. Draw a line from the center of the ear to the top.
10. To frame your face, use your fingers to bring down the hair. Cut a little on an angle.
11. Rep on the other side.
Bangs
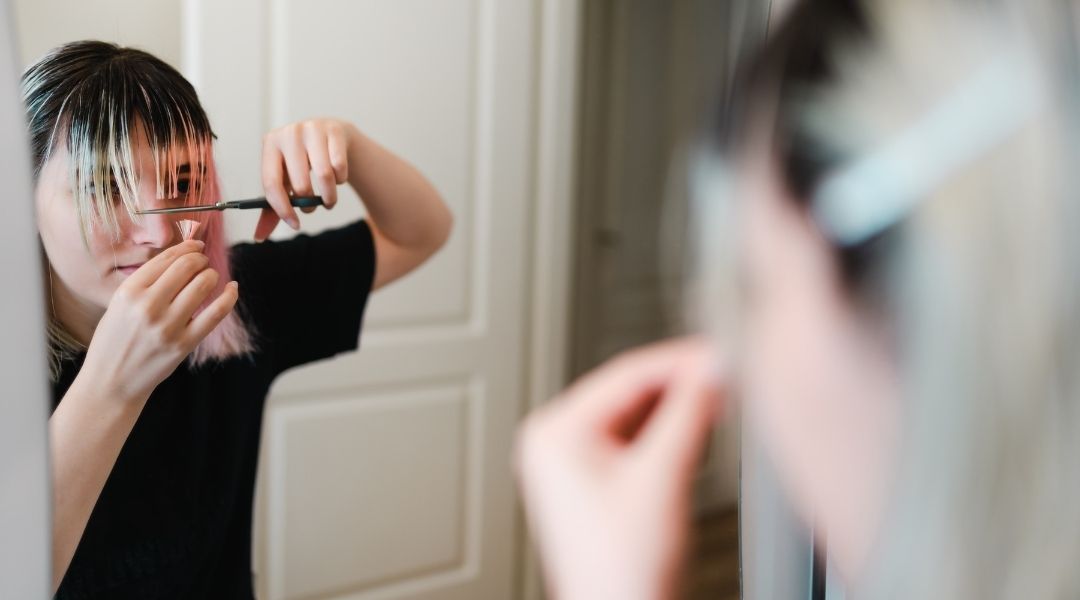
Bangs are perfect for any hair length or type. Besides, bangs are such a cute addition to our hairstyle. There are many bang styles, but this one is a beginner cut, so it is easy to execute. Be sure to have a fine-tooth comb to precisely part your hair.

1. Put three fingers over the hairline to section the hair to be chopped. From the hairline to the third finger, brush the hair forward.
2. Pull the hair forward from the line you've drawn down to your ear. Carry out the same procedure on both sides.
3. Clip up a portion of hair from the top of the crown. You would like to wet your hair first with a hair sprayer/ mist.
4. Cut the fringe straight across for a more extended look. Because you'll be passing through again, don't cut it too short at first. (Your fringe should fall just below the arch of your brow.)
5. To smooth it out, turn the scissors vertically and trim upward.
6. Use a similar motion to chop diagonally on the hair outside of your fringe to blend it.
7. Let down the highest section of hair. Trim upward on the longer hair to mix with the remainder of the cut.
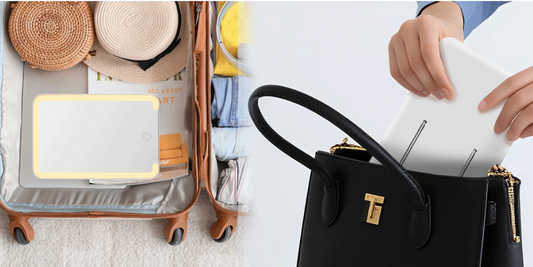
Choose your preferred hairstyle, and get those self-haircutting tools ready. If you don't have a 3-way mirror yet, add Omiro's Trifold Self-haircut mirror to the cart. It is excellent for DIY haircuts. It provides a high definition and a distortion-free reflection for an accurate cut.
Only Mirrors. Only Omiro.


